How to Install a Doorbell
Installing a wired doorbell involves a series of steps that require careful attention to detail and safety precautions. Here’s a step-by-step guide to help you install a wired doorbell, including troubleshooting tips:
Tools and Materials Needed
- Screwdriver
- Wire stripper
- Non-contact voltage tester
- Wired doorbell kit (including button, wire, transformer, and chimes)
- Drill (if new holes are needed for installation)

Safety First
- Turn Off the Power: Before starting the installation, locate your home’s main electrical panel and turn off the circuit breaker that powers the area where you’ll be working. Use a non-contact voltage tester to ensure the power is off.
Step-by-Step Installation
Step 1: Prepare the Doorbell Components
- If you’re replacing an old doorbell, carefully remove the existing doorbell button and chimes, keeping the wiring if it’s in good condition.
- Unpack your new wired doorbell kit and ensure you have all the necessary parts.
Step 2: Install the Doorbell Button
- Drill holes for the new doorbell button if necessary.
- Feed the doorbell wire through the hole behind where the doorbell button will be located.
- Connect the two strands of the doorbell wire to the terminals on the back of the doorbell button. Ensure one wire runs to the transformer and the other to the doorbell chimes.
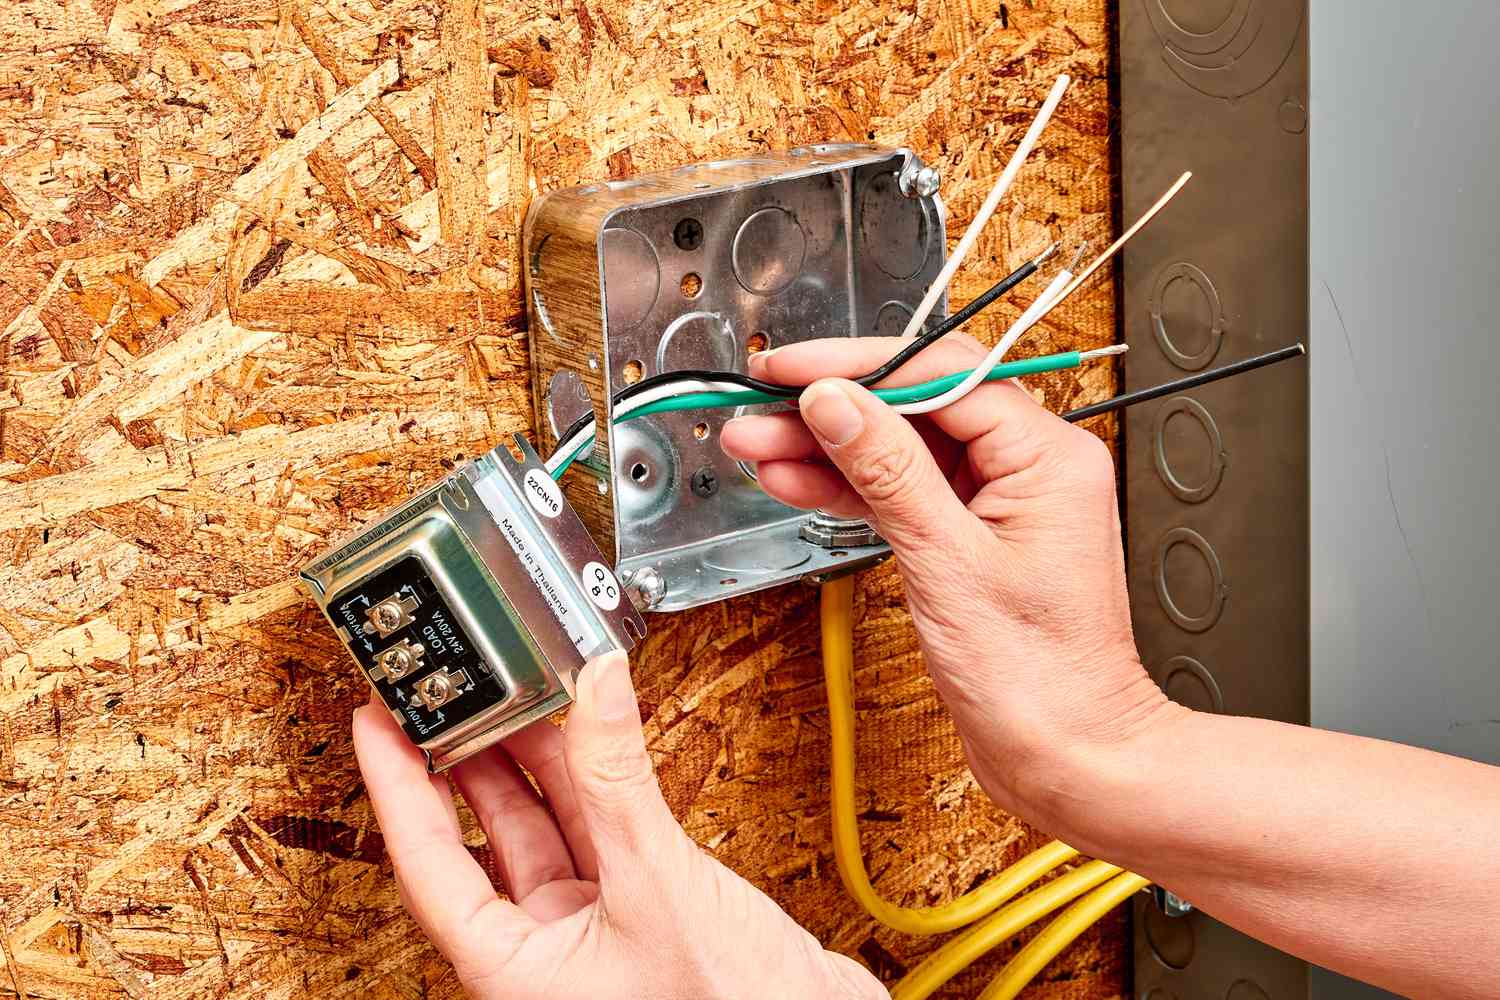
Step 3: Install the Transformer
- Locate the electrical box where you’ll attach the transformer. It should be close to your home’s main power source and the doorbell system.
- Attach the transformer to the side of the electrical box. Connect one doorbell wire to one of the terminals on the transformer and secure it. Ensure the other terminal is connected to your home’s electrical system, transforming the 120V household current to 16V.
Step 4: Install the Doorbell Chimes
- Choose a location for your doorbell chimes. It should be somewhere central in your home where the chime can be easily heard.
- Attach the chimes to the wall, following the manufacturer’s instructions.
- Connect the wires from the doorbell button and transformer to the appropriate terminals on the chimes. Remember, the wire from the transformer goes to the “TRANS” terminal, and the wire from the doorbell button goes to the “FRONT” terminal.
Step 5: Test the Doorbell
- Once all components are installed and wired correctly, turn the power back on at your home’s electrical panel.
- Test the doorbell button to ensure it rings the chimes. If it doesn’t work, double-check your wiring connections and make sure the power is on.
Troubleshooting Tips
- Doorbell Doesn’t Ring: Check all wire connections to ensure they’re secure and correctly attached to the doorbell button, transformer, and chimes. Ensure the power is on and the circuit breaker is not tripped.
- Weak or No Power to the Doorbell: Verify the transformer is functioning correctly and providing the correct voltage output. A malfunctioning transformer may need replacement.
- Intermittent Doorbell Operation: This could be a sign of loose wiring or a faulty doorbell button. Check all connections and replace the button if necessary.
Installing a wired doorbell is a manageable project if you follow these steps carefully and prioritize safety throughout the process


